2. Set up React App
This is the second chapter of the tutorial on building an end-to-end dapp on Aptos where you have already created a smart contract and are now setting up a React app.
Set up the app
We will use the react library to build the client side with Create React App.
For the UI, we will use Ant Design. This is just a personal decision; you are welcome to use any different UI library/framework you wish.
- In the root folder of the
my-first-dappproject, run:
npx create-react-app client --template typescript
That will create a new client folder in the current path:
-
Your file structure should look something like:
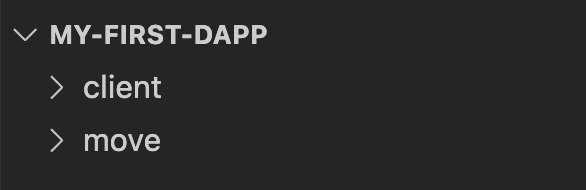
-
Run:
cd client -
Run:
npm startAt this point you should have your app running on http://localhost:3000, which displays the default React layout.
-
In the
client/srcdirectory, find all the React app files. Let’s clean it up a bit. -
Open the
App.tsxfile and update its content to be:
function App() {
  return <div>My app goes here</div>;
}

export default App;
Once you save the changes, you should see that the app content has changed in the browser and displays My app goes here.
- Open the
App.tsxfile and remove theimport './App.css';andimport logo from './logo.svg';lines. Since we remove the default imports on this file, we can remove some files in our project. Delete the filesApp.cssandlogo.svg. - Open the
index.tsxfile and remove theimport './index.css';line at the top of the file. Now you can also delete thesrc/index.cssfile.
Our dapp UI
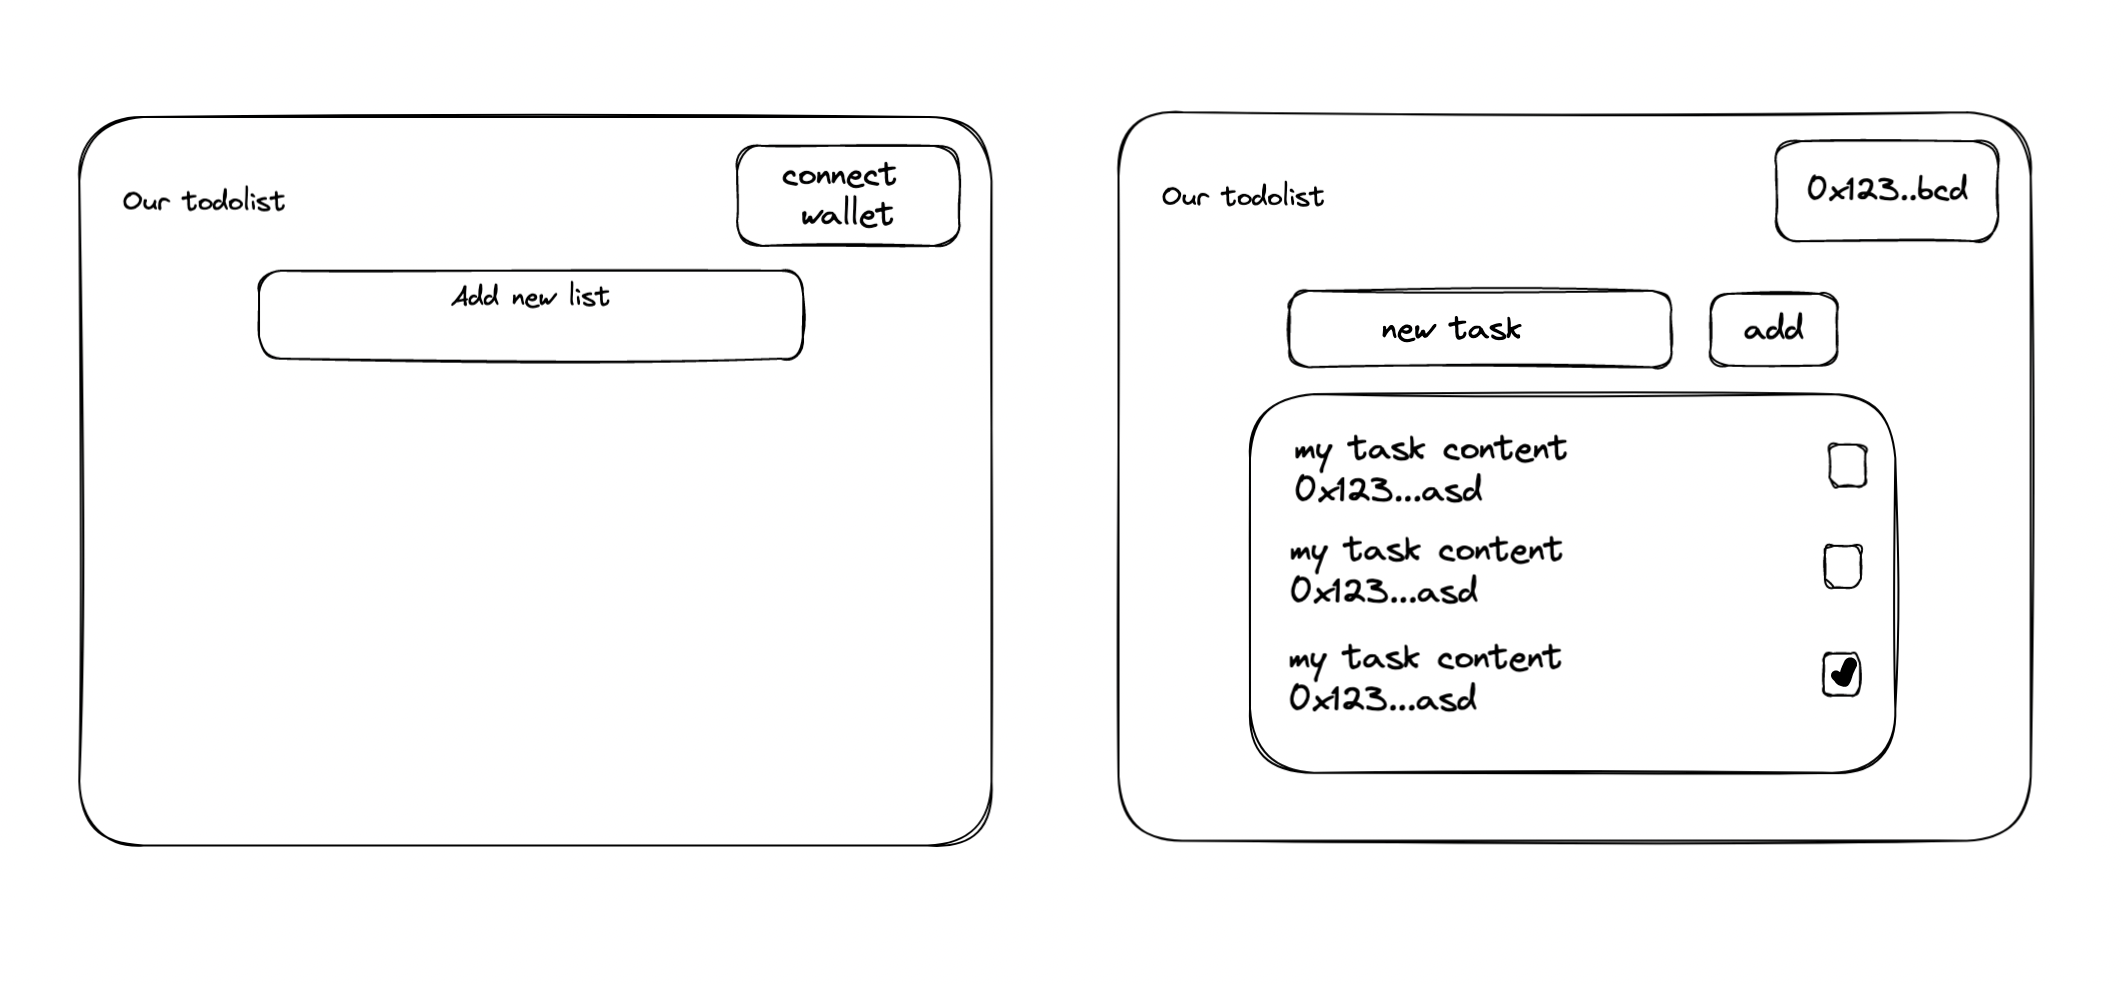
First we will build the dapp UI layout. We have two UI states for the app:
- When an account hasn't created a list yet (on the left).
- When an account has created a list and can now add tasks to it (on the right).
We will use the Ant Design library for our UI:
- Stop the local server if running.
- On to the
clientdirectory and install our UI library package:npm i antd@5.1.4 - Update
App.tsxwith the initial state UI:
return (
  <>
    <Layout>
      <Row align="middle">
        <Col span={10} offset={2}>
          <h1>Our todolist</h1>
        </Col>
        <Col span={12} style={{ textAlign: "right", paddingRight: "200px" }}>
          <h1>Connect Wallet</h1>
        </Col>
      </Row>
    </Layout>
  </>
);
- Don't forget to import the components we just added:
import { Layout, Row, Col } from "antd";
- Run the local server with
npm start, you should see the header that matches our UI mockup.
It is now time to add wallet support in chapter 3.